Whether you’re a professional editor, or business owner who's stepped up to create video content for your brand, I'm sure you've sometimes felt like you were stuck in a rabbit hole of video editing that never seems to end!
In this article however, I'll be showing you 4 recent features in Adobe Premiere Pro that are going to make your editing life a LOT easier.
Let's get straight to it!
1. Auto Reframe
With all these wonderful social media platforms we now have to showcase video content, we run into a problem...
A “one size fits all” doesn’t exist anymore.
Depending on the platform, you will need to resize and optimise your video to the correct dimensions to maximise the viewer experience on each and every one.
For example, we use 1920x1080px for Youtube content, while 1:1 or 1080x1920px for Instagram content.
It could be a pain to resize, centralising your footage multiple times with keyframes, rendering, exporting and so on...
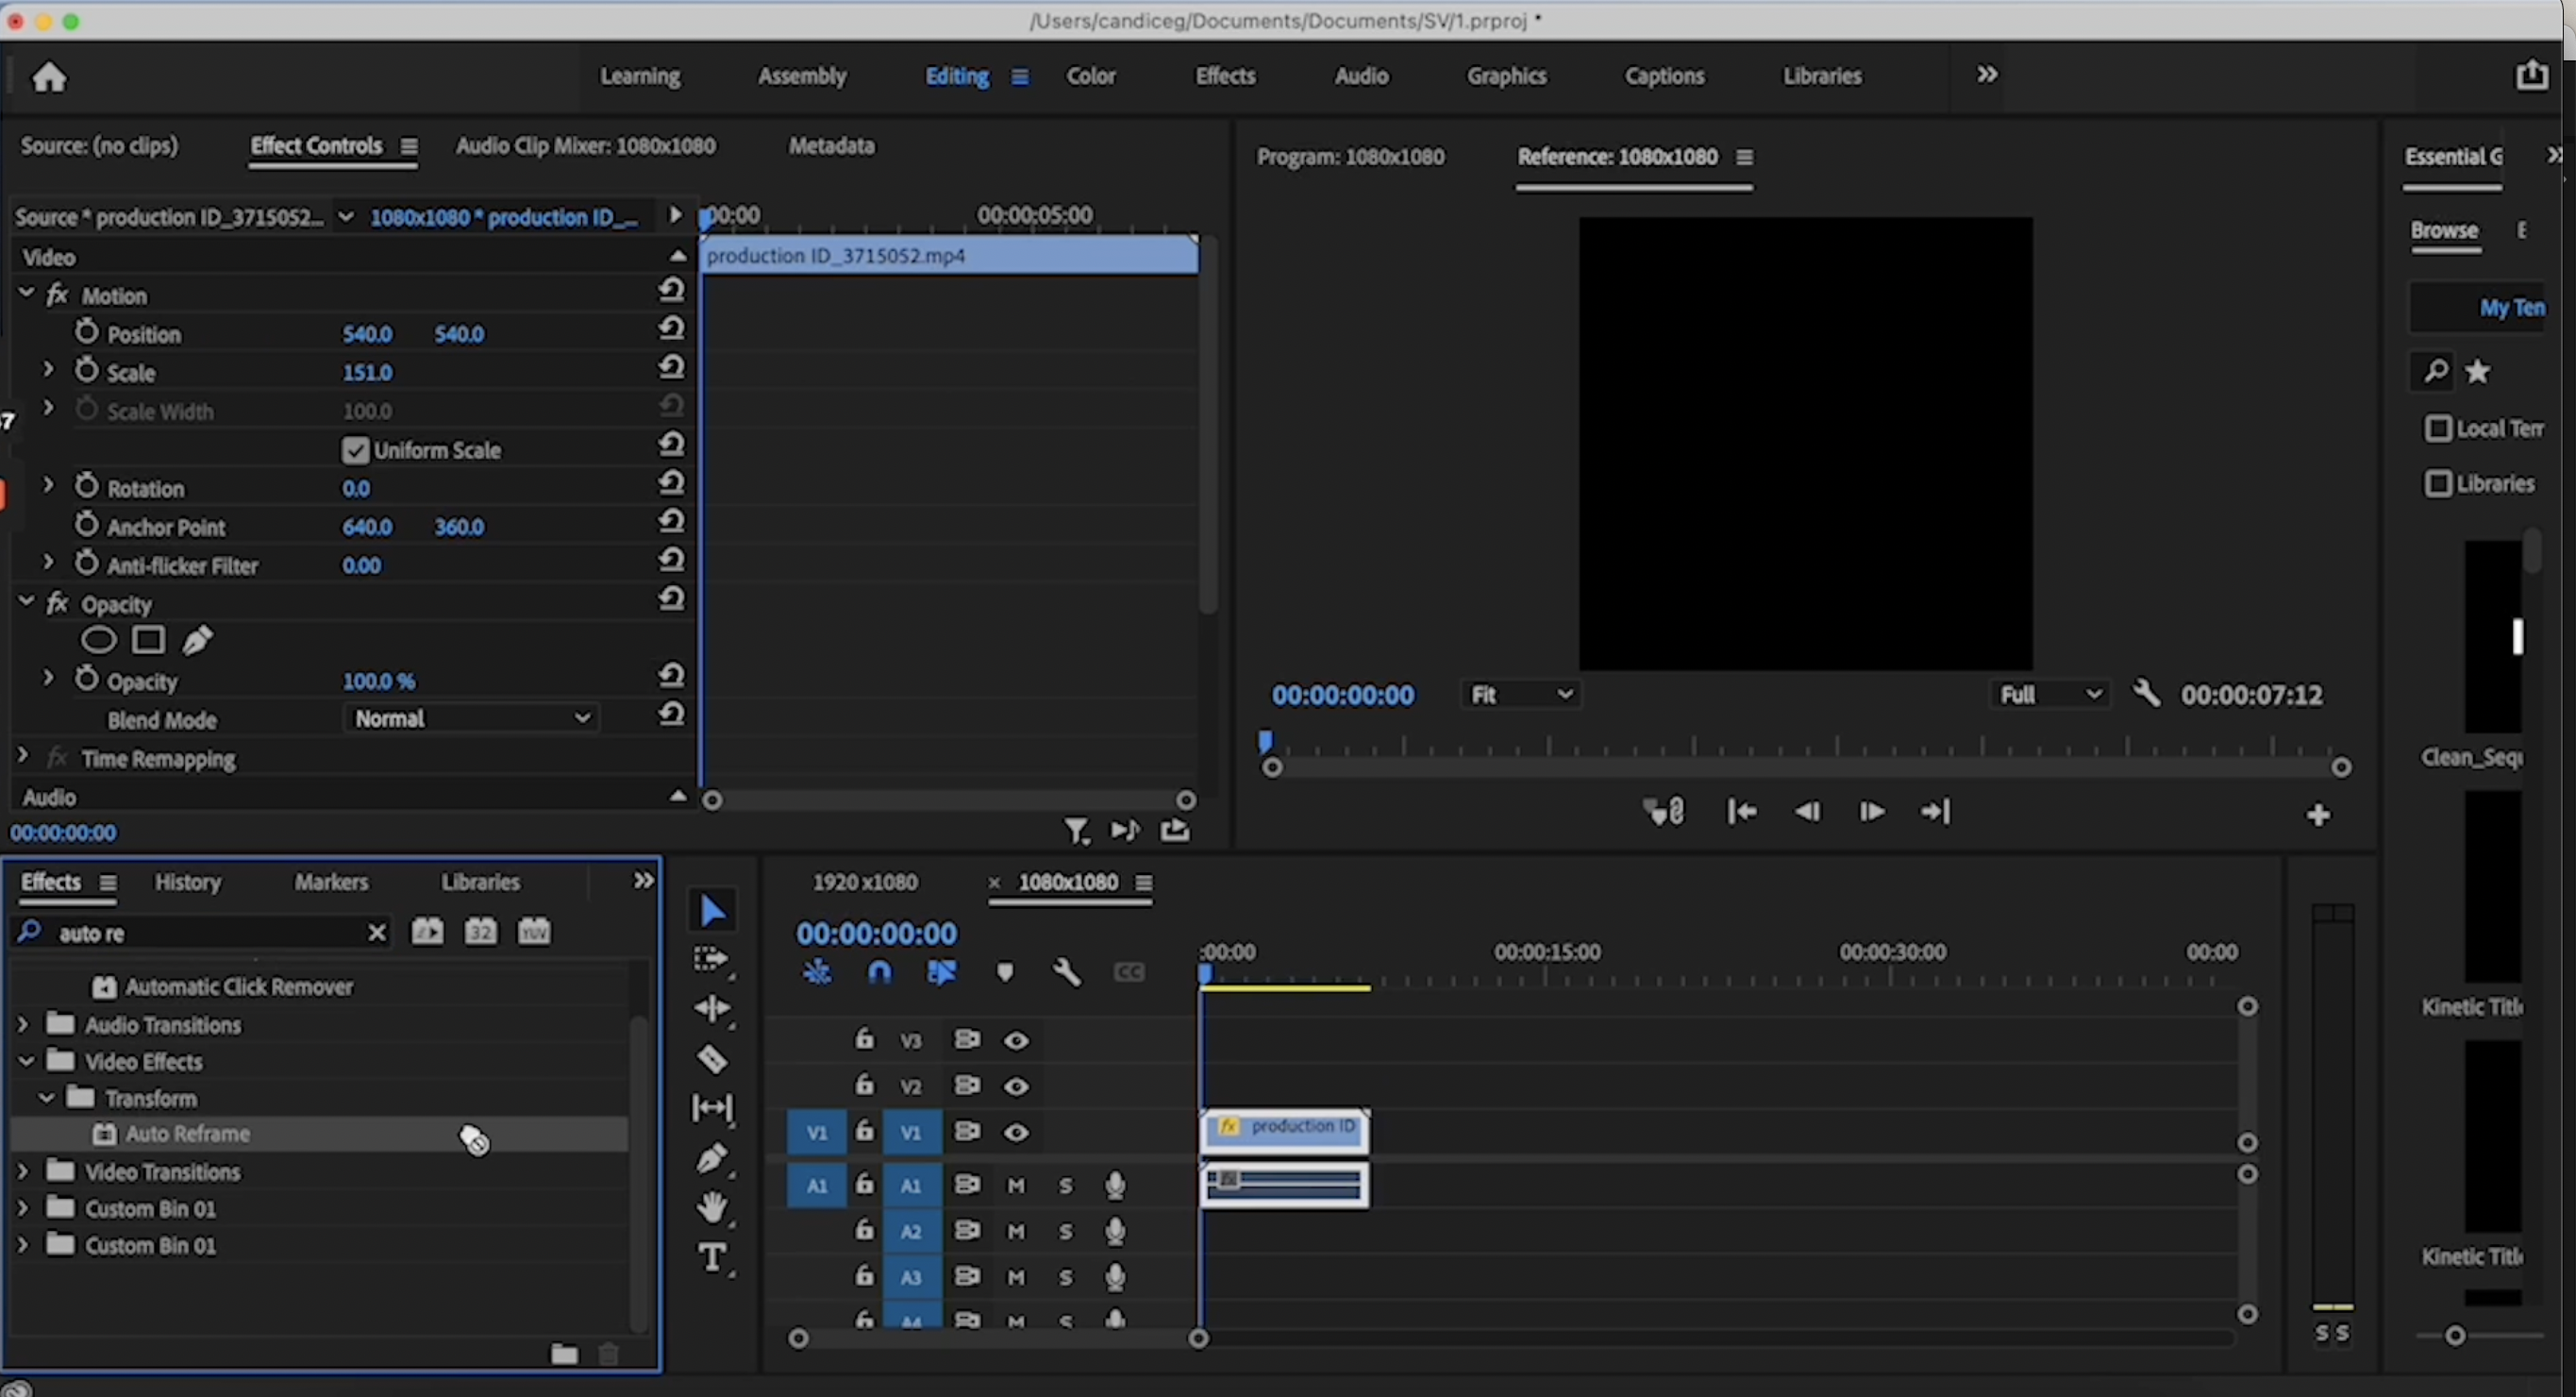
But the 'Auto Reframe' effect is here to save the day.
Once you create the sequence in the correct sizing, apply the effects and it will recenter your footage automatically.
Of course, you will still need to do some minor adjustments but it’s a big time saver I promise!
2. Warp Stabilizer
Shaky footage can totally throw off the momentum of your video.
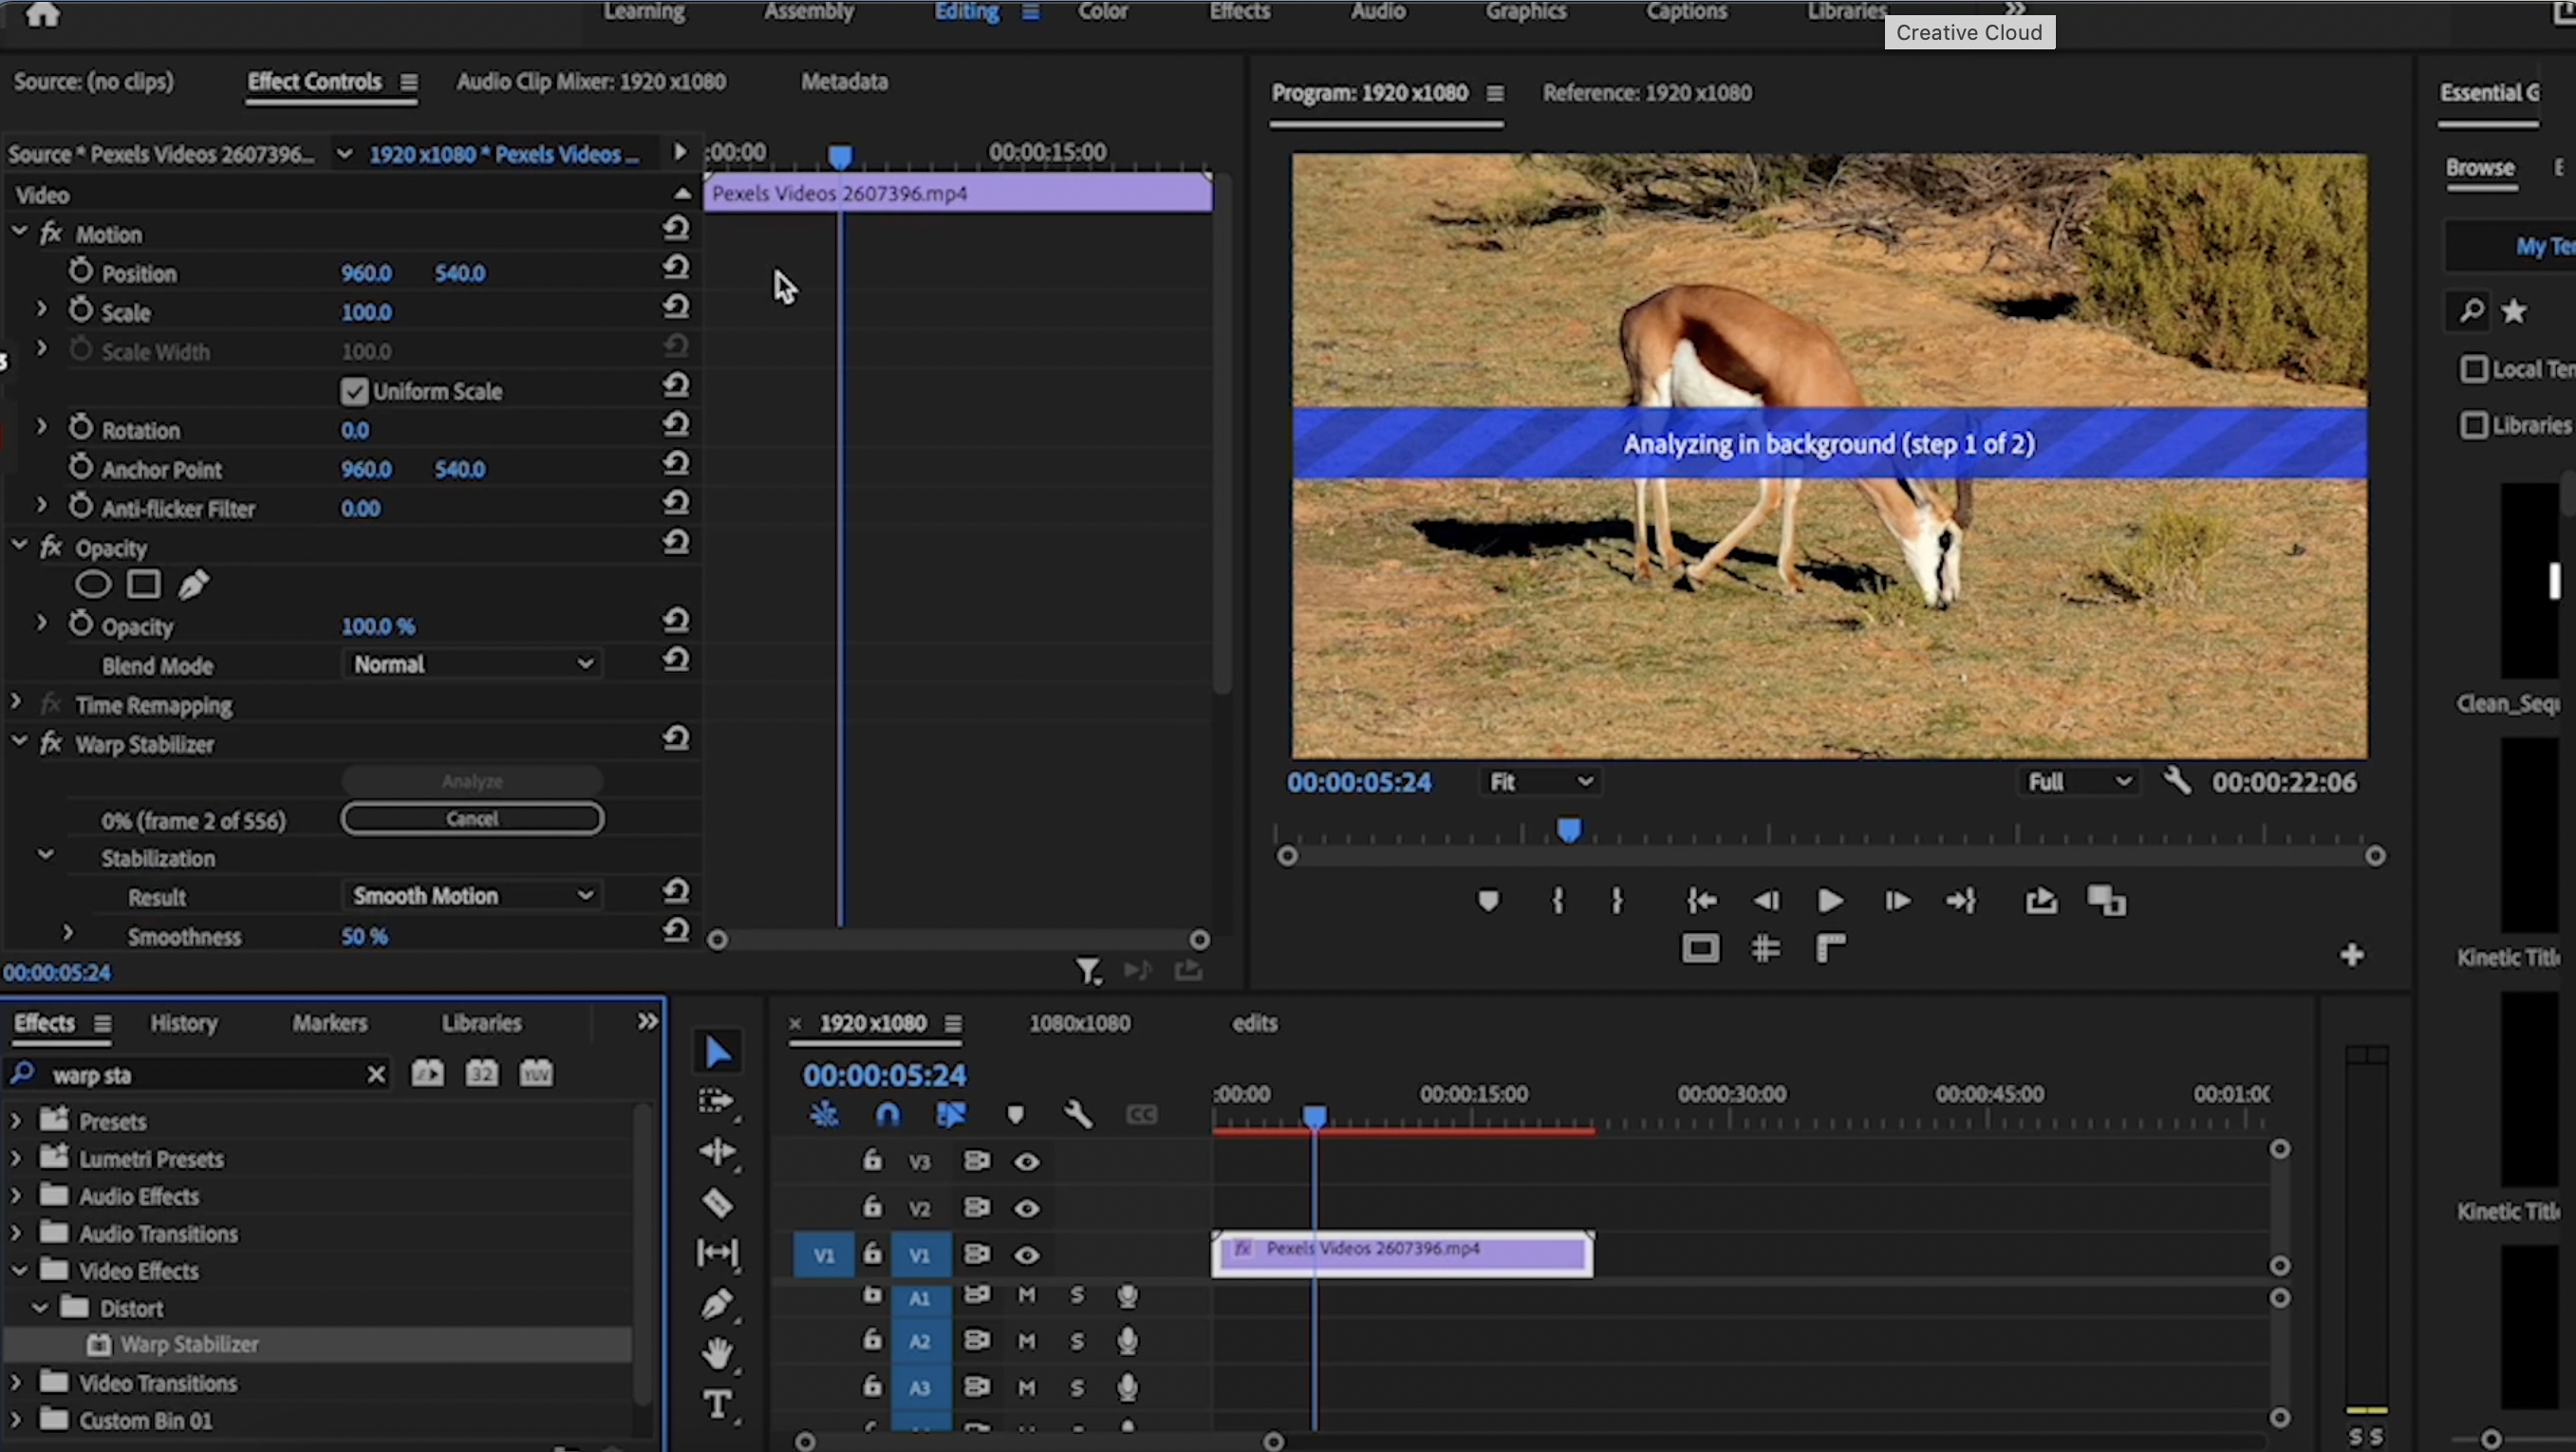
Clean it up quickly with the 'Warp Stabilizer' by simply dragging the effect onto your footage. It will then start analyzing the clip for you and BOOM! You’re seconds away from completely correcting a once “unusable” shot.
Now it should be said - although it IS an effective tool, it doesn’t do magic.
There might be some occasions where you apply the effect, and it actually becomes more shaky than before! Here’s why:
- It’s too shaky - If your camera shakes too much, and there’s too much motion blur within your clip, the tool won't be able to pick up enough information it needs to track your footage.
- It’s too dark - Again, it won’t be able to analyze your footage if there’s not enough details in the clip. Make sure you have shot with the correct lighting.
- You’ve time remapped the clip - Premiere Pro won’t let you apply the effects if you’ve already sped up or slowed down the footage. But here’s a quick fix, simply nest your footage and apply the effect on the nest sequence.

3. New Caption Workflow
Adding captions and subtitles to your videos makes them more accessible, viewer friendly and engaging.
Now you may find the idea of creating captions daunting and sometimes costly, but it’s become much simpler and customizable thanks to the new workflow within Premiere Pro.
Here’s what you can do:
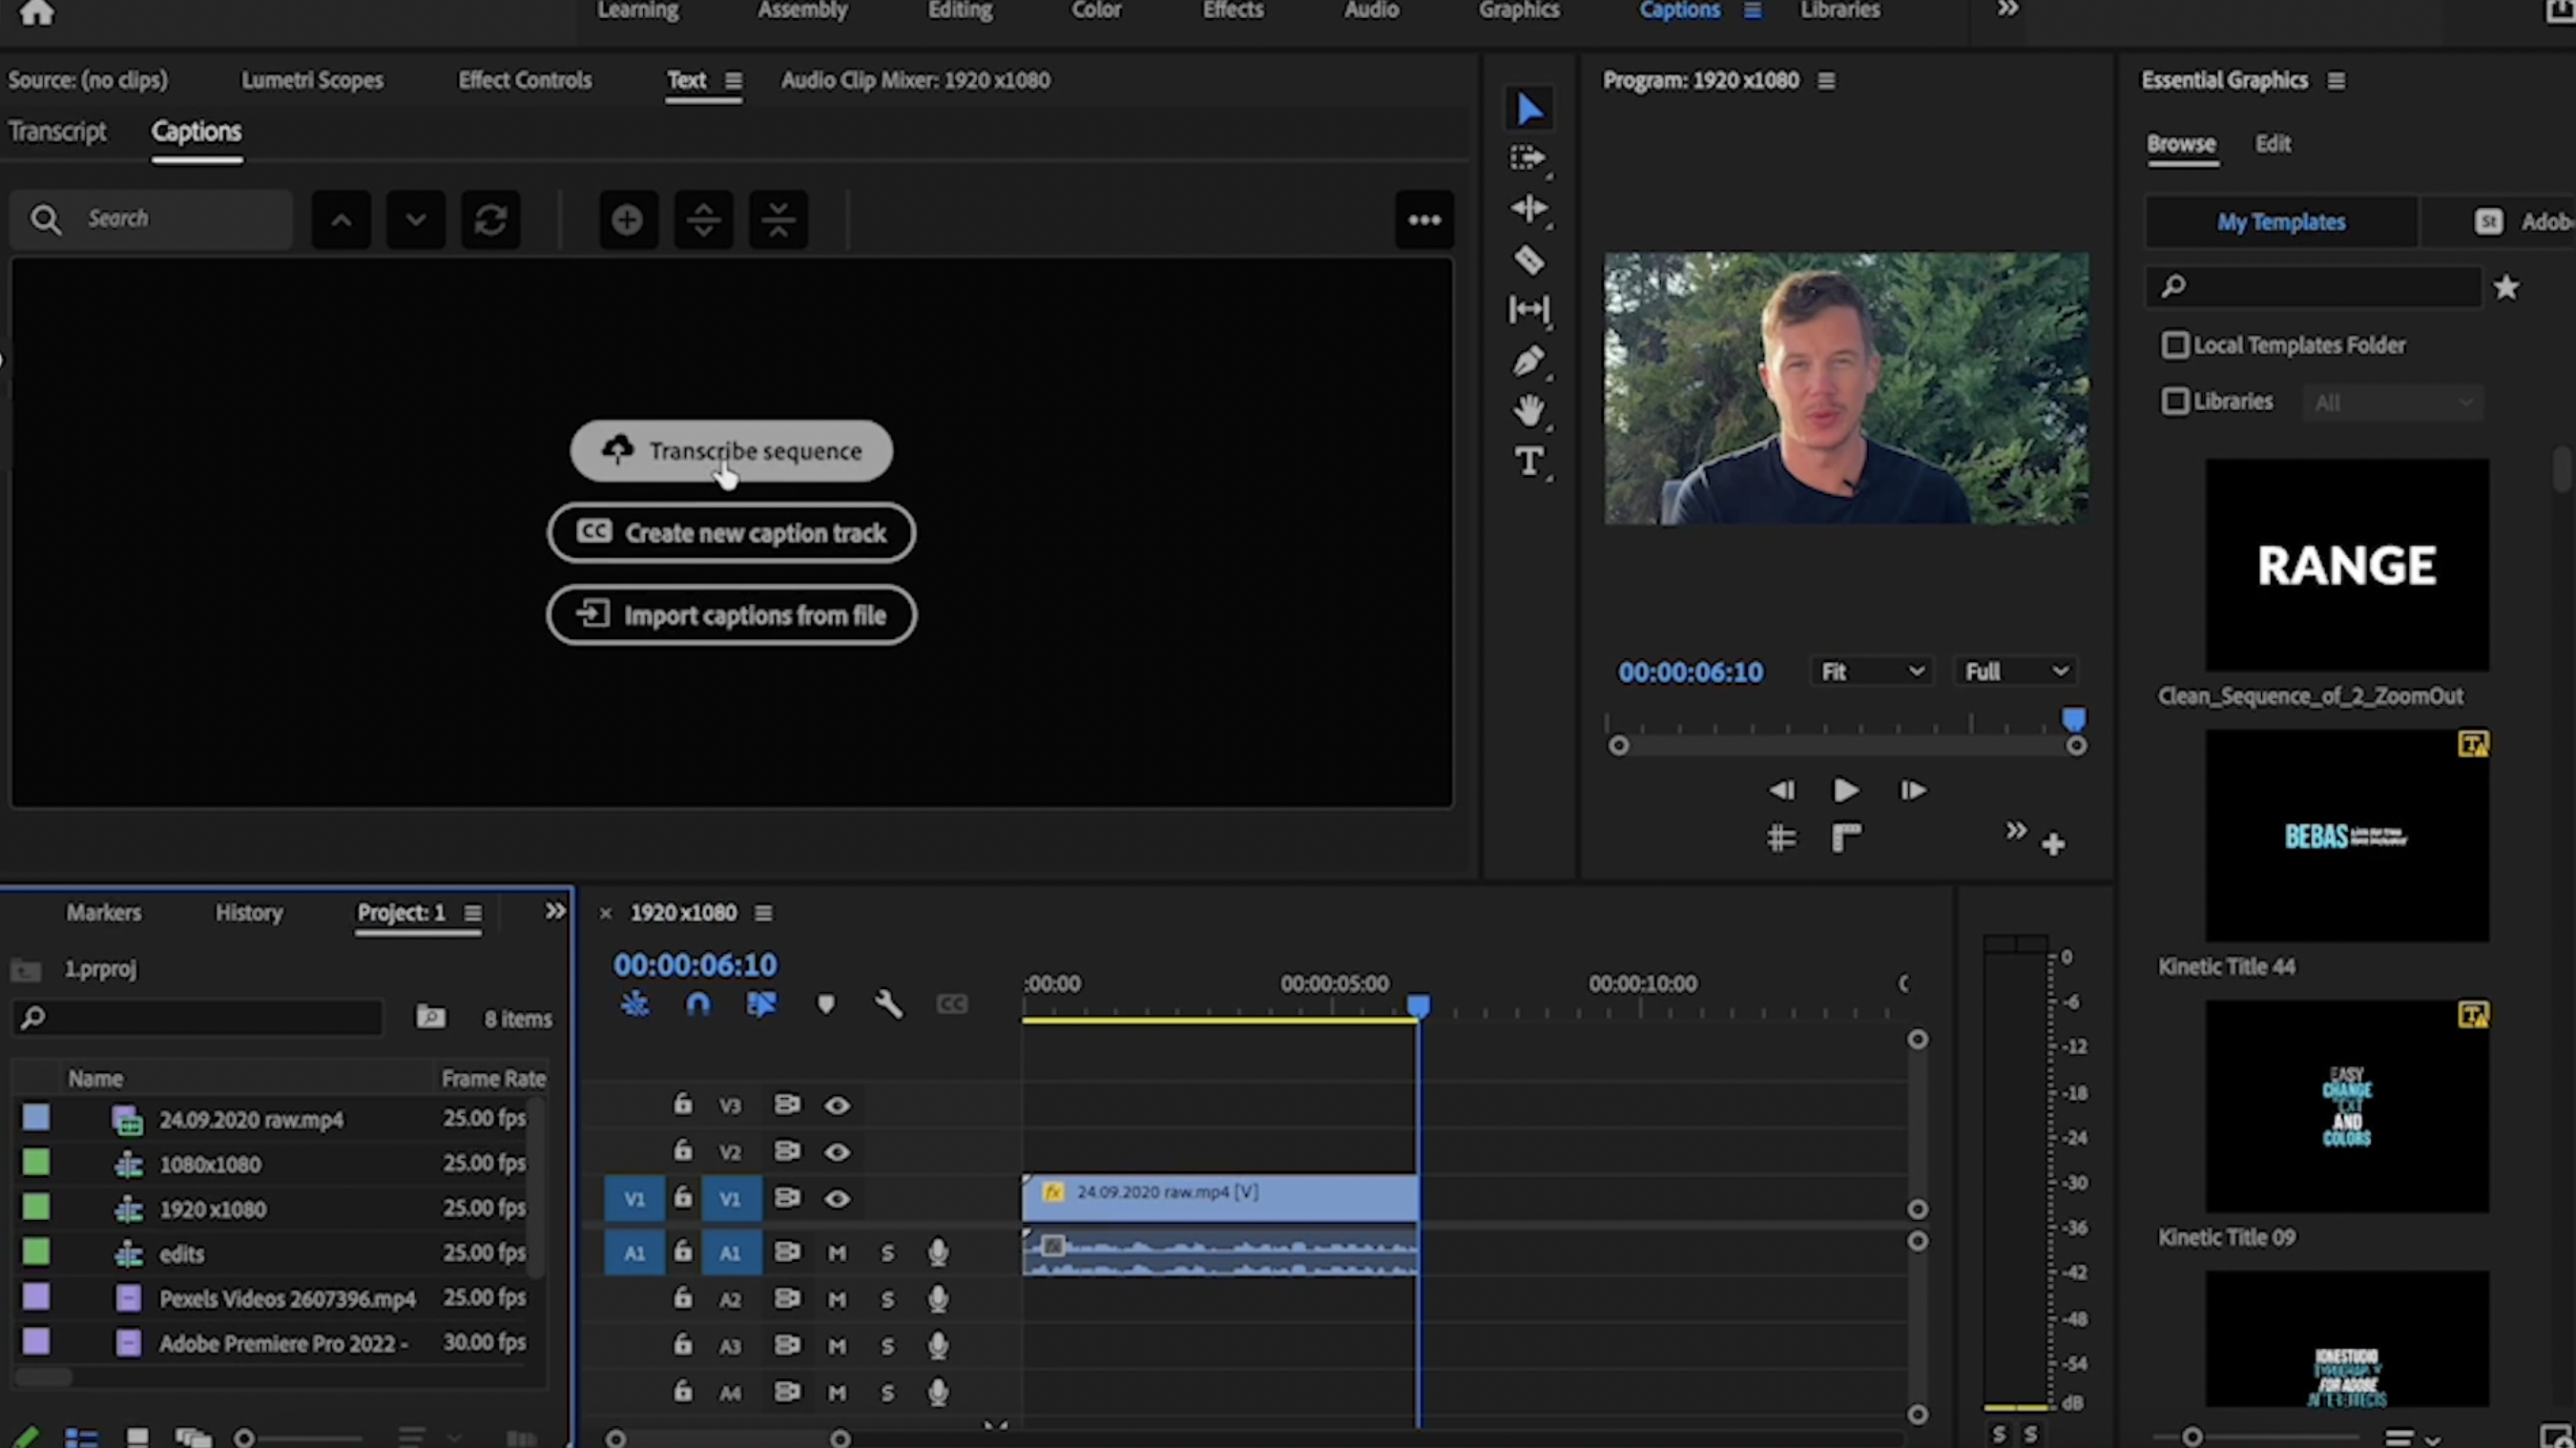
- Import captions - Import your SRT file to auto apply them to your video.
- Create your own captions - Type in the dialogue manually and create additional segments as needed. Slide them on your timeline and adjust your caption clips like you would with any other clips and it will automatically update for you.
- Transcribe sequence - In July 2021, Adobe released an auto-caption generator that creates subtitles within minutes. Currently available in 13 languages and with more to come. As with any other AI transcription engine, 100% accuracy can’t be expected. The results however, are quite precise. And with some minor adjustments, you will have a high standard, customisable transcript in no time.

This new addition can also be useful for projects containing interviews with the ability to differentiate between different speakers and audio tracks to enhance your editing process. (To access this feature, please make sure your Premiere Pro is up to date.)
Now take your captions to the next level...
Pop over to the Essential Graphics and enjoy the ability to modify font, colour, tracking as you wish.
You can even save your style selection as a preset so you can apply the same setting again later on other projects.
You may also notice that your subtitles are now on it’s own dedicated track, set apart from your normal tracks and footages, keeping your workflow much tidier and visible which is a big bonus!
4. Quick Export
Depending on the complexity of the edit, rendering can range from a few minutes to several dreadful hours. In particular, editors using Premiere Pro experience slower rendering times compared to other programs on the market.
Quick Export allows you to speed up the rendering and encoding process within the platform itself, enabling you to work more efficiently by providing direct access to export files in just a few clicks. This feature works wonders when you just need to export a preview or in between productions before the final render.

So there you have it!
4 new features in Premiere Pro that could save you time and heartache to make your editing life more effortless.

.png)


